How to Set Up the Hydria Re-Chargeable Fountain Kit

by Gary Rolfe

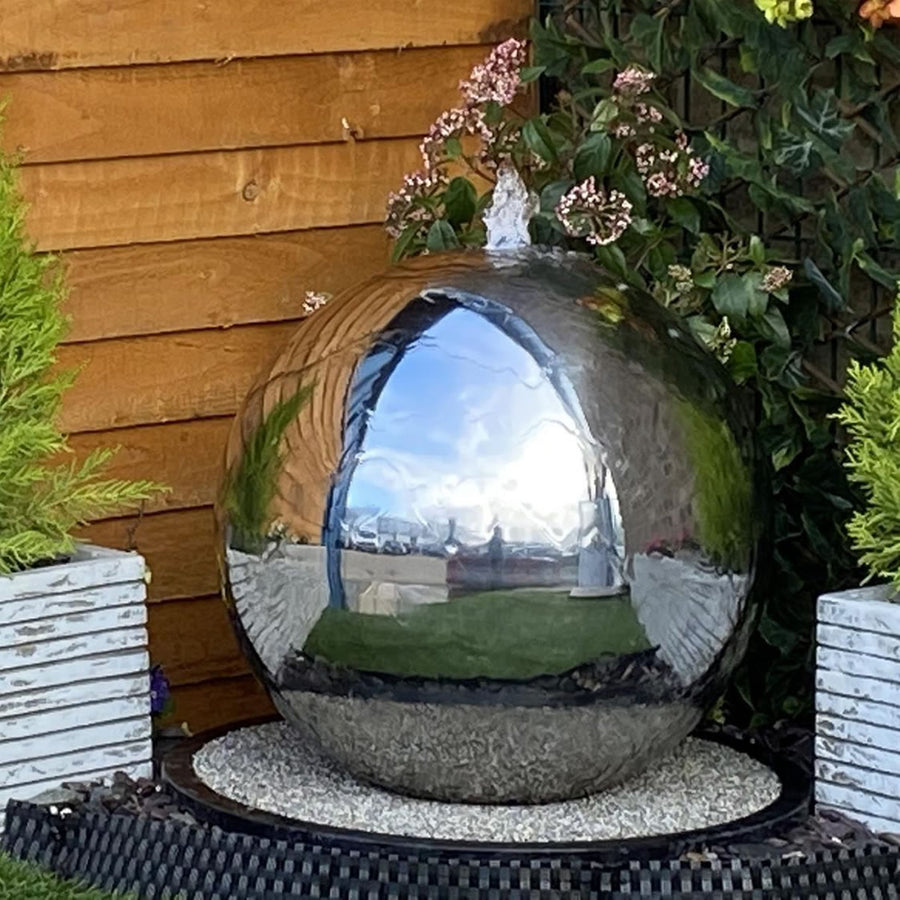
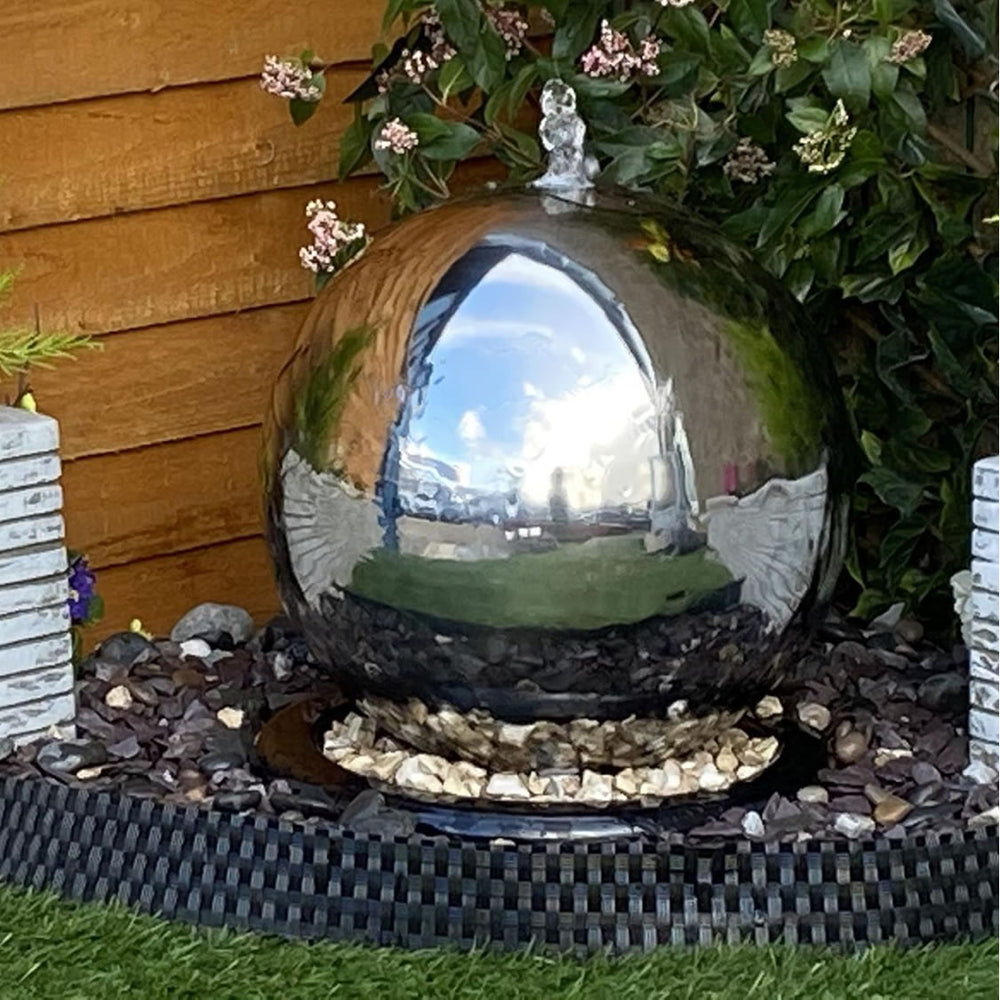
The award-winning Hydria™ is the latest in garden tech. The world’s first rechargeable water feature kit allows you to ‘plant’ a beautiful water feature in minutes - no wires, solar panels or plumbing required.

You can purchase a Hydria™ here.

Follow the guides below to create your perfect patio fountain that garden birds will love! Remember, you will need a pot with an opening of 30cm or more to contain your Hydria™.
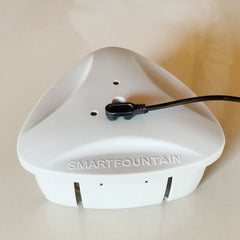
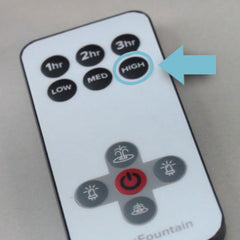
Hydria Components

Hydria Fountain Components

Step By Step

open hydria
1. Open up the housing by pressing the 3 tabs on the sides.
hydria lift top cover
2.Lift the top cover off the main housing to reveal the battery and pump.
hydria connect battery
3. Connect the cable to the battery.
hydria replace top cover
4. Replace the top cover.
hydria connect charging lead
5. Connect the charging lead to the contact points.
hydria plug into power
6. Plug the charger into household power.
hydria charge
7. The LEDs will flash red indicating charging is in progress.
hydria full charge
8. When fully charged the LEDs will turn green.
hydria fountain head
9. Once fully charged, attach a fountain head.
hydria water level
10. Place the SmartFountain into your water feature making sure to keep the fountain head above the water surface.
hydria tilt
11. Tilt the SmartFountain under water to release any trapped air.
hydria high force
12. Run on High Force for 30 seconds to clear the pump of trapped air.
hydria remote control
13. See remote control section for operating instructions.

Video Guide


Instruction Manual

hydria instructions 1hydria instructions 2

Download PDF Instructions